Stucco Crack Repair in Chico: Patch Small Cracks Before Moisture Causes Damage
November 11, 2026
Table of Contents
- [Why Small Stucco Cracks Matter More Than They Look](#why-small-stucco-cracks-matter-more-than-they-look) - [How Moisture Gets Behind Stucco and Causes Damage](#how-moisture-gets-behind-stucco-and-causes-damage) - [Identifying Hairline, Structural, and Settlement Cracks](#identifying-hairline-structural-and-settlement-cracks) - [Our Step-by-Step Stucco Crack Patching Process](#our-step-by-step-stucco-crack-patching-process) - [Choosing the Right Patch Material for Chico's Climate](#choosing-the-right-patch-material-for-chicos-climate) - [Sealing and Finishing for Lasting Weather Protection](#sealing-and-finishing-for-lasting-weather-protection) - [Preventive Maintenance to Keep Stucco Dry and Intact](#preventive-maintenance-to-keep-stucco-dry-and-intact) - [When to Call a Professional for Stucco Repair](#when-to-call-a-professional-for-stucco-repair) - [Why Chico Homeowners Trust Our Owner-Operated Service](#why-chico-homeowners-trust-our-owner-operated-service) - [Frequently Asked Questions (FAQ)](#frequently-asked-questions-faq)
Why Small Stucco Cracks Matter More Than They Look {#why-small-stucco-cracks-matter-more-than-they-look}
A hairline crack in stucco can seem like a cosmetic issue, something you notice once and then forget. In our experience, though, those thin lines are often the first sign that water is finding its way into your wall system. Once moisture gets in, it can spread quietly behind the surface and cause problems you won't see until the damage is much more expensive to fix.
Stucco is durable, but it is not waterproof on its own. It works as part of a layered system that includes a backing material, a water-resistive barrier, and the stucco coat itself. When the outer coat cracks, that protective layer is compromised.
Here is why we encourage homeowners to act early:
- Small cracks let water in during rain and irrigation cycles. - Moisture can rot wood framing and encourage mold behind the wall. - Repeated freeze and thaw cycles, while less common in Chico, can still widen cracks over time. - Patching a crack the size of a pencil line costs far less than replacing a damaged section.
**Next step:** Walk the exterior of your home once a season and mark any crack you can see. Note its length and whether it appears on a sunny or shaded wall.
How Moisture Gets Behind Stucco and Causes Damage {#how-moisture-gets-behind-stucco-and-causes-damage}
Water rarely comes straight through a solid wall. It usually enters through a crack, a gap at a window or door, or a spot where the stucco meets another material like trim, roofing, or a hose bib. Once inside, it travels along the water-resistive barrier and collects at low points, such as the bottom plate of a wall or around the base of a window.
We often see the damage start in a predictable sequence:
1. Water enters through a hairline crack after a heavy rain. 2. Sunlight heats the wall, pulling some of the moisture back out, but leaving residue and expansion stress behind. 3. Over months, the cycle repeats and the crack widens slightly each time. 4. Moisture reaches the wood framing or sheathing and begins to soften or discolor them. 5. Stains, bubbling paint, or soft spots appear on the interior wall.
**Mini-scenario:** A homeowner notices a faint brown stain on the inside of a bedroom wall. The actual source turns out to be a crack in the stucco about four feet above a sprinkler head that has been wetting the wall every morning. Catching the crack earlier would have prevented the interior repair entirely.
**Next step:** Check whether any sprinklers, downspouts, or planters direct water toward your stucco. Redirecting that water is often as important as the patch itself.
Identifying Hairline, Structural, and Settlement Cracks {#identifying-hairline-structural-and-settlement-cracks}
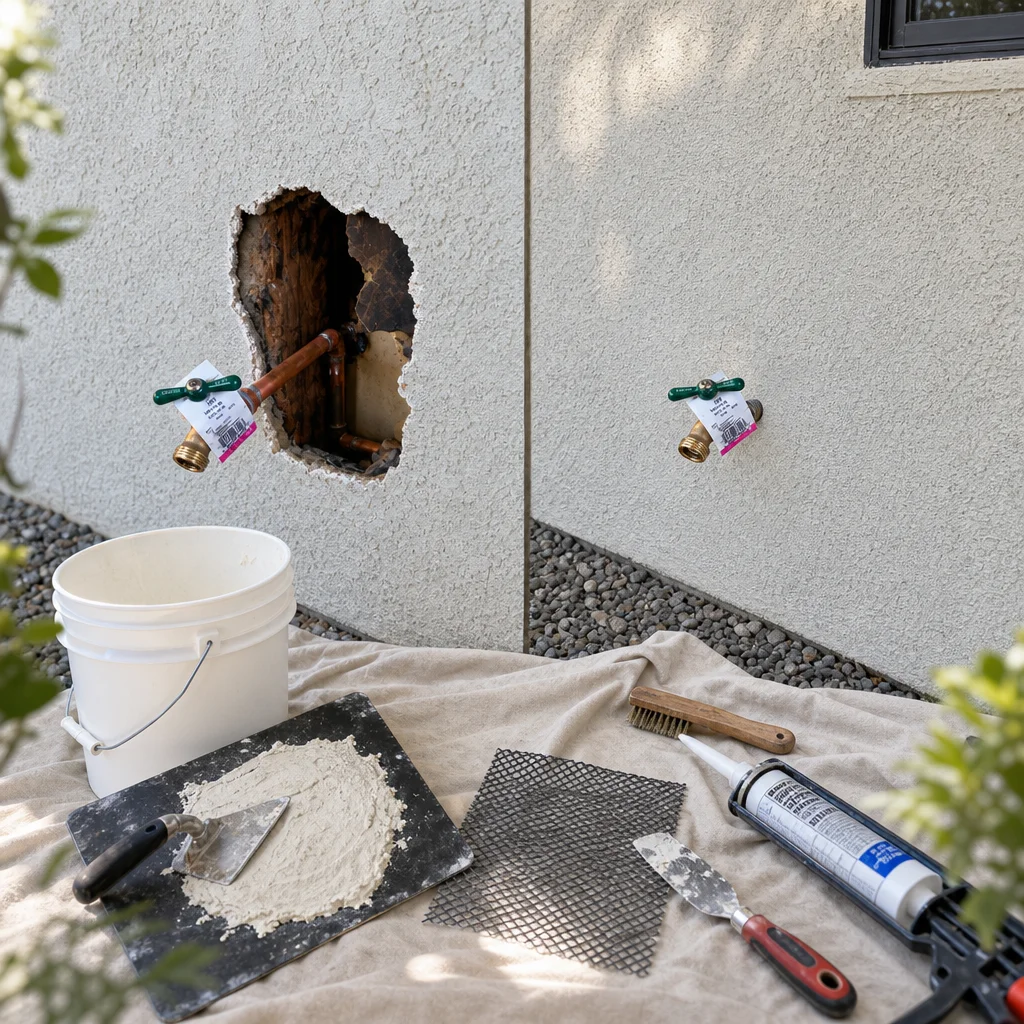
Not all cracks are the same, and the type of crack tells you how serious the problem may be. We sort them into three general categories.
**Hairline cracks** are thin, usually less than 1/16 inch wide, and often follow a random, web-like pattern. They are typically surface-level shrinkage cracks that formed as the stucco cured. Most hairline cracks are good candidates for patching, as long as they are not actively growing.
**Structural cracks** are wider, often run diagonally from corners of windows or doors, and may show displacement, where one side of the crack sits slightly higher or lower than the other. These can signal movement in the framing or foundation and deserve a closer look before any patch is applied.
**Settlement cracks** tend to be horizontal or stair-stepped, often near the base of the home or along a foundation line. They usually indicate soil movement and should be evaluated by someone who can determine whether the foundation is stable.
A few quick checks can help you sort them:
- Does the crack get wider over several weeks? Mark its ends with a pencil and check again. - Is one side of the crack raised or sunken compared to the other? - Does the crack run from a corner of an opening? - Are there doors or windows that stick or no longer close smoothly?
If you answered yes to any of the last three questions, we recommend a professional assessment before patching.
**Next step:** Take a photo of each crack with a coin or tape measure beside it for scale. This gives you a baseline to compare against later.
Our Step-by-Step Stucco Crack Patching Process {#our-step-by-step-stucco-crack-patching-process}
For cracks that are stable and confined to the surface, our approach focuses on preparation, which accounts for most of a lasting repair.
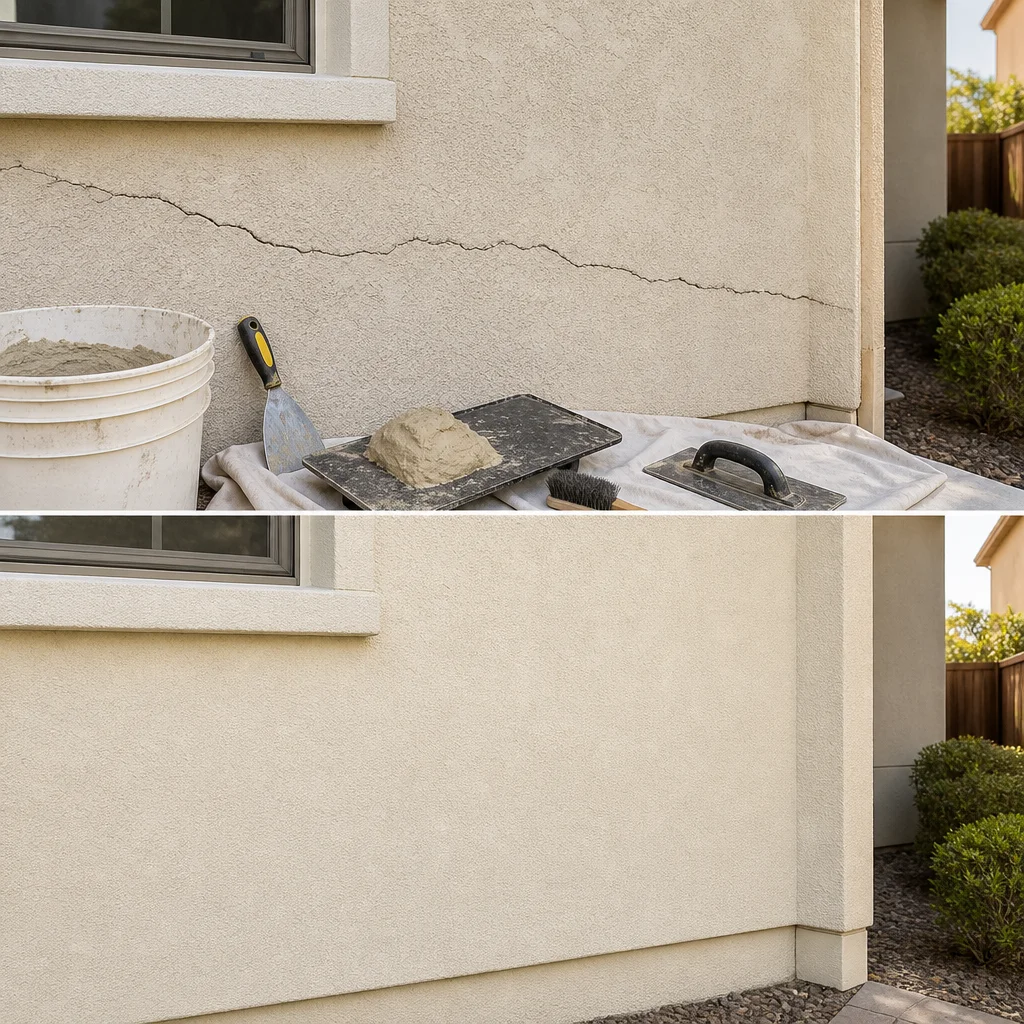
1. **Inspect and mark the area.** We identify the full length of the crack, including any hidden branches, and trace it with a pencil so we know exactly where to work. 2. **Widen and clean the crack.** We use a stucco rake or a small grinder with a masonry blade to open the crack into a shallow V-groove. This gives the patch material something to grip. We then remove loose debris with a stiff brush and a shop vacuum. 3. **Dampen the surface.** Stucco and patch material bond poorly to dry, dusty surfaces. We lightly mist the area so it is damp but not dripping. 4. **Apply the patch.** We press the material into the groove in thin layers, working it deep enough to fill the full depth of the crack. Overfilling creates a visible bump, so we feather the edges outward. 5. **Match the texture.** Stucco texture varies by home. We use a sponge float, a brush, or a trowel technique to blend the patch into the surrounding finish. 6. **Allow proper curing.** Patches need time to harden, and rushing this step leads to new cracks. We keep the area moist for a period and avoid sealing too early.
**Next step:** If you plan to do a patch yourself, buy enough material to complete the job in one session, and check the forecast so you are not working right before rain.
Choosing the Right Patch Material for Chico's Climate {#choosing-the-right-patch-material-for-chicos-climate}
Chico experiences hot, dry summers, cool wet winters, and significant daily temperature swings. Those conditions put stress on exterior finishes, so the patch material matters.
**Acrylic-modified stucco patch** is a common choice for hairline and small cracks. It bonds well to existing stucco, remains flexible enough to handle minor movement, and is easy to texture. For most residential repairs in our area, this is our first recommendation.
**Cementitious patch compounds** are stronger and suited to larger repairs, but they can be more rigid. If a crack is likely to move with seasonal changes, a rigid patch may crack again beside the repair.
**Elastomeric crack fillers** stretch and recover, which makes them useful for cracks that open and close with temperature changes. They are often used with a coating system rather than as a standalone finish.
When choosing, consider:
- How wide the crack is and whether it moves seasonally - The existing stucco type, whether traditional cement or a synthetic system - The color and texture you need to match - Whether the wall will be repainted or coated afterward
**Next step:** Bring a small piece of the existing stucco, or a clear photo of the wall, to your supplier. Color and texture are much easier to match with a reference sample.
Sealing and Finishing for Lasting Weather Protection {#sealing-and-finishing-for-lasting-weather-protection}
A patch that is textured and painted to match can still fail if it is left unprotected. Sealing and finishing protect the repair from the same weather that caused the crack.
Once the patch has cured, we typically apply a breathable masonry primer and then a exterior-grade paint or elastomeric coating. Breathable products matter because they let trapped vapor escape while still shedding liquid water. A non-breathable coating can trap moisture behind the surface and cause blistering.
Here is a practical finishing sequence:
- Let the patch cure fully before priming. Check the product label, but expect several days in mild weather. - Prime the patched area so the paint absorbs evenly and does not show a flat spot. - Apply the topcoat across the full wall section when possible. Painting only the patch often creates a visible color difference. - Pay attention to the edges of the repair, where sealant is most likely to fail.
**Next step:** Confirm that your paint or coating is labeled for exterior stucco and suited to your climate. Ask for a product that is breathable if the wall has a history of moisture issues.
Preventive Maintenance to Keep Stucco Dry and Intact {#preventive-maintenance-to-keep-stucco-dry-and-intact}
The best repair is the one you never have to make. A simple maintenance routine helps keep stucco dry and stable year after year.
- **Inspect twice a year.** Spring and fall are good times to look for new cracks, staining, or peeling paint. - **Control water at the source.** Adjust sprinklers so they do not spray the wall, and keep soil and mulch below the stucco line. - **Clean gutters and downspouts.** Overflowing gutters pour water down the wall, which is one of the most common causes of stucco damage. Our [gutter maintenance in Chico](https://89builthandyman.com/blog/professional-gutter-cleaning-services-in-chico-protect-your-home-27469) service helps keep that water moving where it belongs. - **Seal penetrations.** Caulk around lights, hose bibs, vents, and wall-mounted fixtures where water could seep in. - **Clean gently.** Use low pressure when washing the exterior. High-pressure sprayers can drive water into small cracks. - **Address staining quickly.** Brown or green streaks often point to moisture behind the surface.
**Next step:** Create a simple calendar reminder for a spring and fall exterior walk-around, and keep a short log of what you find.
When to Call a Professional for Stucco Repair {#when-to-call-a-professional-for-stucco-repair}
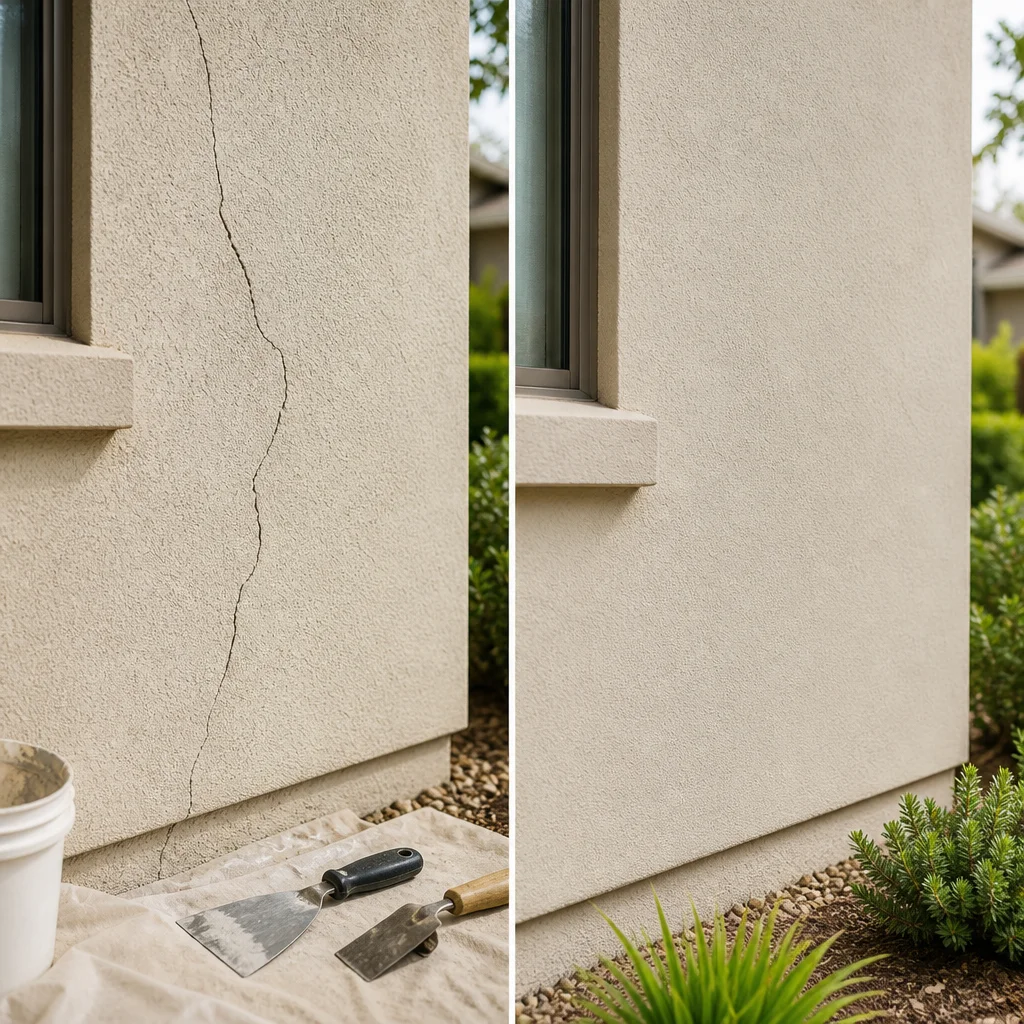
Some stucco problems are straightforward homeowner projects, and others need a more experienced assessment. We recommend calling a professional when:
- A crack is wider than about 1/8 inch or continues to grow. - You see displacement, where one side of the wall is uneven. - Cracks run from window or door corners, or along the foundation line. - Interior walls show staining, soft drywall, or musty odors near exterior cracks. - Large sections of stucco are bulging, hollow-sounding, or detaching. - The repair area is above a second story or otherwise difficult to reach safely.
Stucco work that involves underlying moisture damage, framing, or structural movement may also require coordination with a licensed contractor. We will always tell you clearly when a project falls outside what we can complete directly, so you know your options before any work begins.
**Next step:** Send us photos of each crack, a note about when you first noticed it, and any interior staining. This gives us the information we need to suggest a practical next step, and we can usually tell you within a short conversation whether a patch is appropriate.
Why Chico Homeowners Trust Our Owner-Operated Service {#why-chico-homeowners-trust-our-owner-operated-service}
When you hire 89 Built Handyman, you are working directly with the owner who reviews your request, assesses the conditions, and carries out the work. That means fewer handoffs, clearer communication, and someone who is accountable for the result.
We approach stucco repair the same way we approach every project: we look closely before we start, explain what we see in plain language, and recommend only what the wall actually needs. Our focus is on lasting value, not quick fixes that will have to be redone.
Because we also handle drywall, trim, doors, fences, and exterior maintenance, we can often address related issues in a single visit. If a crack in your stucco is connected to a [professional patching services](https://89builthandyman.com/blog/expert-drywall-patching-and-paint-matching-services-in-chico-27529) need inside the home, we can help coordinate both sides of the repair.
**Next step:** Contact us through [89builthandyman.com](https://89builthandyman.com/) with a list of your exterior concerns and a few photos. Tell us about the home, what you have noticed, and what you hope to achieve. We will review the details personally and let you know what to expect before anything is scheduled.
Frequently Asked Questions (FAQ) {#frequently-asked-questions-faq}
Can you repair stucco cracks in Chico without repainting the entire wall? {#can-you-repair-stucco-cracks-in-chico-without-repainting-the-entire-wall}
Yes. We patch the affected area, feather the edges so the repair blends into the surrounding texture, and then match the color and finish to the existing wall. For most hairline and small cracks, the repaired section is nearly invisible once the sealer cures. We will still recommend repainting the full elevation if the existing paint has faded or chalked, since a uniform finish looks the best.
How do we know if a stucco crack is cosmetic or a sign of a bigger problem? {#how-do-we-know-if-a-stucco-crack-is-cosmetic-or-a-sign-of-a-bigger-problem}
We look at the width, direction, and location of the crack. Hairline cracks that are less than about 1/16 inch wide and run in random directions are usually surface-level shrinkage. Cracks that are wider, run diagonally from corners of windows or doors, or appear with bulging or hollow-sounding sections often point to movement or moisture behind the stucco, and we flag those for further evaluation before patching.
How long does a typical stucco crack repair take? {#how-long-does-a-typical-stucco-crack-repair-take}
Most small repairs take between one and three hours, depending on the number of cracks and whether we need to address moisture or flashing nearby. Patches require time to cure before sealing, so we plan around the drying schedule. We will walk you through the timeline during your estimate so you know exactly what to expect.